Tips & Advice

12 BASIC STEPS TO LAY THE GRASS SOD DOWN
1. Select the right type of grass for your area, usually it’s Kentucky Bluegrass.
2. Measure the square footage of your planting area to determine how much sod you’ll need. Purchase fresh sod or have it delivered.
3. Prepare and level the soil. The final level should be an inch or two lower than grade to accommodate the thickness of the sod.
4. Pick up the sod or arrange to have it delivered on the day you are ready to lay it. Inspect the sod carefully to make sure it hasn’t dried out. Reject it if it has dried, curled or cracked edges, or yellowing foliage.
5. Start laying the sod along a straight edge, such as a driveway or walk. To create a straight edge, stretch a string across the center of the lawn.
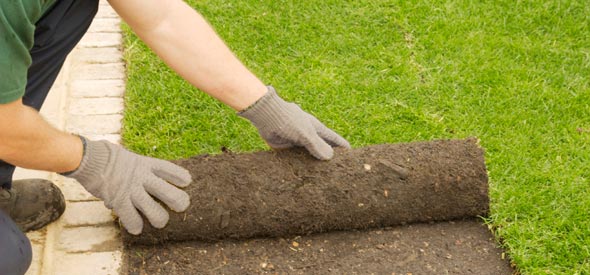
6. Position the sod pieces so the ends butt up tightly against an edge or previously laid piece. Unroll the sod. Place edges as close as possible, but don’t overlap them.
7. Stagger pieces as you move from row to row (as if you were laying brick) so the ends don’t all line up.
8. Use an old kitchen knife to cut sod to fit around sprinklers or in odd-shaped areas.
9. Fill in any large spaces between pieces of sod with soil
10. Push a water-filled roller (about a third full) over the entire area to make sure sod and soil are in good contact and to help level the area.
11. Water thoroughly so the soil is moist to a depth of 6 to 8 inches
12. Keep the seed bed moist (but not soggy) until sod roots knit with soil below. In hot weather, you may have to water more than once a day.
IMPORTANT:
Keep pets and kids off your new lawn by enclosing it with stakes and string.
Avoid letting sod dry out, whether it’s stacked in a pile or already laid. Occasionally sprinkle with water from a handheld hose to keep it moist, and store pallets of sod in the shade.
